
Don’t get scared from 7 layers. Follow my instructions and it will be a winner. The Dough is really not difficult to work with, layers do not break. The lemon in The Cream Filling beautifully underlines the taste of honey. Oh My, The Topping, the secret of my grandma is out. Roasted hazelnuts are just a piece of heaven. The Topping is also perfect for any base of cheesecake, crumble, yogurt desserts or breakfast waffles.
Let’s start and celebrate The Valentine’s Day with whoever you love and you are thankful for. Enjoy yourselves!
My Variation: Chocolate Honey Cake
Add 2 tablespoons of cocoa powder and 1 teaspoon of gingerbread spice into The Dough (instead of cinnamon and cloves).
I made this cake with lots of melted chocolate. In total, I used around 200g 70% quality dark chocolate.
Make more layers until all of The Dough is gone and skip the Topping part. Instead you can make a lovely chocolate drip cake or adornments accordingly to your desire as per in my Chestnut and Hazelnut Meringue Recipe.
Save one-third of melted chocolate and incorporate into The Filling. That tastes just incredibly, it reminds me of chocolate biscuit cake. Look at that beauty.
Honey Cake is suitable for kids 2 plus because of an allergen presence (nuts or chocolate) and a possible egg white intolerance.
Total Time: 1 hour 30 minutes + 1 hour sit of The Dough and 12 hour sit of the cake
100g of butter
150g of caster superfine sugar
4 tablespoons of honey
1 teaspoon of soda bicarbonate, sifted
1 whole egg
A splash of milk
500g of plain flour, sifted
1 teaspoon of ground cinnamon, sifted
A pinch of ground cloves
The Cream Filling:
250ml of milk
2 tablespoons of vanilla pudding mix
125g of caster superfine sugar
200g of butter, soft in cubes
A splash of juice from lemon
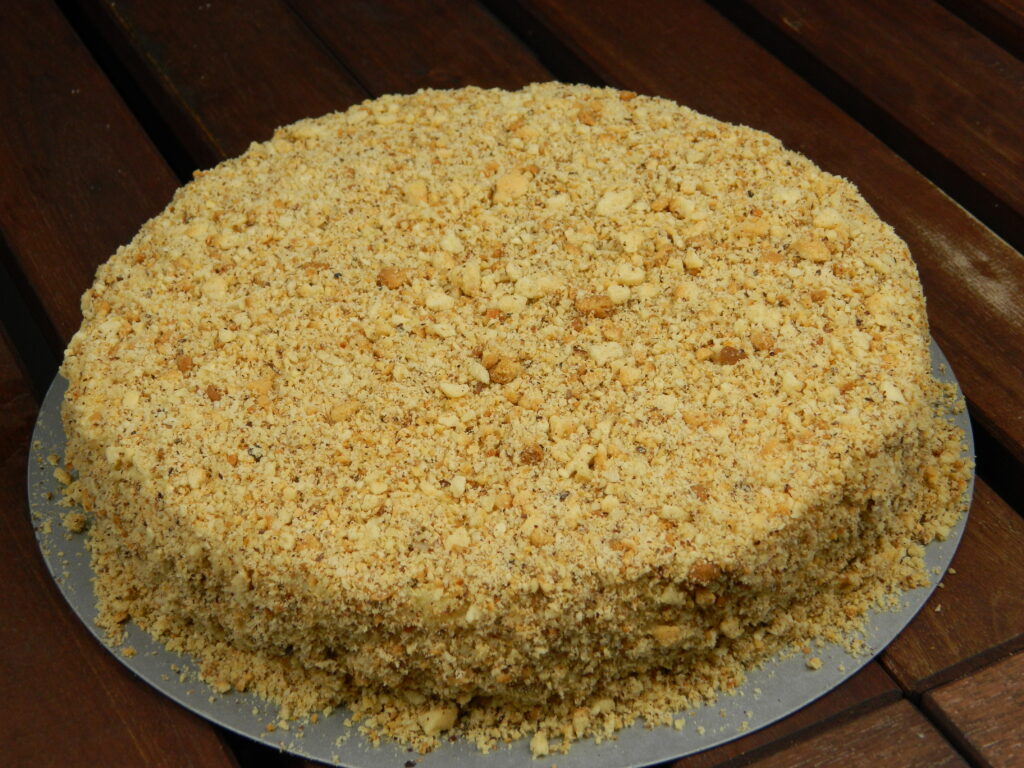
The Topping:
100g of mixture of hazelnuts and walnuts
The Dough
In a steam bath melt the butter. Stir in sugar, honey, soda bicarbonate, egg and milk.
Mix with a balloon whisk until the sugar is dissolved, for about 4 minutes on medium heat.
Take off the heat and mold into a large mixing bowl. Stir in cinnamon and cloves.
Slowly add the flour in, a third at a time. Incorporate and continue.
Knead with hands until you get a smooth and elastic Dough. I used the whole amount of the flour (500g), however, add it slowly, maybe you won’t need to process all of it.
The Dough should be a bit sticky, but not too much, so you can work with it easily, later on.
Wrap in a cling foil and place in a cold place for about 1 hour.
The Cream Filling
In a medium deep pot pour in the milk and sugar. Whisk in 2 tablespoons of vanilla pudding mix and cook on medium heat.
Stir occasionally until it thickens and becomes a pudding consistency. Taste.
Take off the heat and let it cool down in a cold place.
The Cake and The Topping
Preheat the oven to 180 degrees.
Meanwhile, divide the dough into 7 pieces.
Take each of them and roll it out between 2 sheets of a cling foil into a round shape. Make a cut with some springform pan bottom (I used 20cm). Save the leftovers of The Dough on side.
Continue until you make 7 rounds.
Place one or two (depending on size of your baking tray) into a large baking tray lined with some baking paper.
Bake in the oven for about 4-5 minutes until it gets lightly golden and bubbly on the top.
Then, take it out, gently flip and continue with all of the layers.
Once you are done, let them cool down entirely.
Next, sprinkle the baking tray with all the leftovers and bake them for about 6 minutes.
Place hazelnuts on a baking tray and roast them in the oven until they get golden and the skins start to get loose. Take them out and shake in a sieve, so the skins get off.
Then, put the leftovers of The Dough, hazelnuts and walnuts into a hand blender. Blend until smooth texture. Done.
Presentation
First, place 200g of butter into a medium mixing bowl and whisk until smooth.
Add The Cream Filling and splash of lemon juice. Whisk until very smooth texture, for about 3 minutes. Taste and taste.
Flip the first cake layer on its flat side and spoon The Cream Filling. Not too much, around 1 large spoon.
Gently cover with the second cake layer, flat side up. Another layer of The Cream Filling and the third cake layer, flat side up. Continue until you place all the 7 cake layers.
The last seventh layer is the top, therefore, place it on its flat side down. Cover with The Cream Filling on the top and sides of the cake. Yummy!
Refrigerate for at least 12 hours, so The Cream Filling gets in and smoothens the whole cake incredibly. Slice to heaven and enjoy with a cup of coffee.
Makes 20 cm round cake of 7 layers.